Car Dealer Photography Guide: Take Photos That Attract Buyers and Boost Car Sales
If you're a car dealer, you already know how much first impressions matter. Online, away from your sales team, your photos do the selling. According to Cox Automotive, "40% of consumers are likely to purchase a vehicle based on images they view online without seeing the vehicle in person". In addition to this Autocar states that "more than 50% would consider buying their next car fully online".
Your car dealership website and online car sales adverts are your digital shop window and you should treat them as such. Your photos need to be sharp, clean, and professional. This is not about expensive camera equipment, your smartphone can take an ideal image if you follow our steps below.
This article explains how to take great photos for your car dealership, what tools and techniques help make a great car dealership photo, and what car dealership software you can use to help create photos of your car dealership stock and inventory.
Cleanliness
The car should be spotless. Wash and dry the car thoroughly.
Dirt, dust, and water spots show up more in photos than you might think. Clean the windows, mirrors, wheels, and interior. Don't forget the tyres, even a quick wipe and some tyre shine can make a huge difference.

Remove all clutter from inside the vehicle. Air fresheners, personal items, leaflets, or charging cables will only detract from a buyer's impression. Details matter so pay attention to the fabric of the seats, footwells, and any screens in the car, as buyers will often zoom in on these areas. Make sure the centre console pockets or covers are closed, and ensure that the seats and mats are aligned, levelled forward and back, and set at a consistent angle. A clean, tidy car appears newer, more valuable, and more trustworthy.
Reset The Vehicle
You don't want potential buyers to feel like this is still 'somebody else's car'.
Before photographing, take a few minutes to reset the vehicle's systems. Clear the trip computer so the mileage display looks clean and neutral. Set the radio to something calm like Radio 2 or Classic FM.
Make sure to remove any personal information left behind by a previous owner, such as saved sat nav home addresses, recent destinations, or Bluetooth phone names. These details shouldn't appear in photos and can raise privacy concerns.
A reset vehicle looks tidy, depersonalised, and ready for a new owner, helping buyers to imagine themselves behind the wheel.
Ideally, have the fuel tank at least a quarter full or more to give the buyer a better impression.
Background
Keep it simple, clean, and free from unnecessary distractions. The background you choose represents your business and will communicate to the customer whether you are a professional dealership or not and whether or not you take pride in your product. Show the customer you've put the effort in.
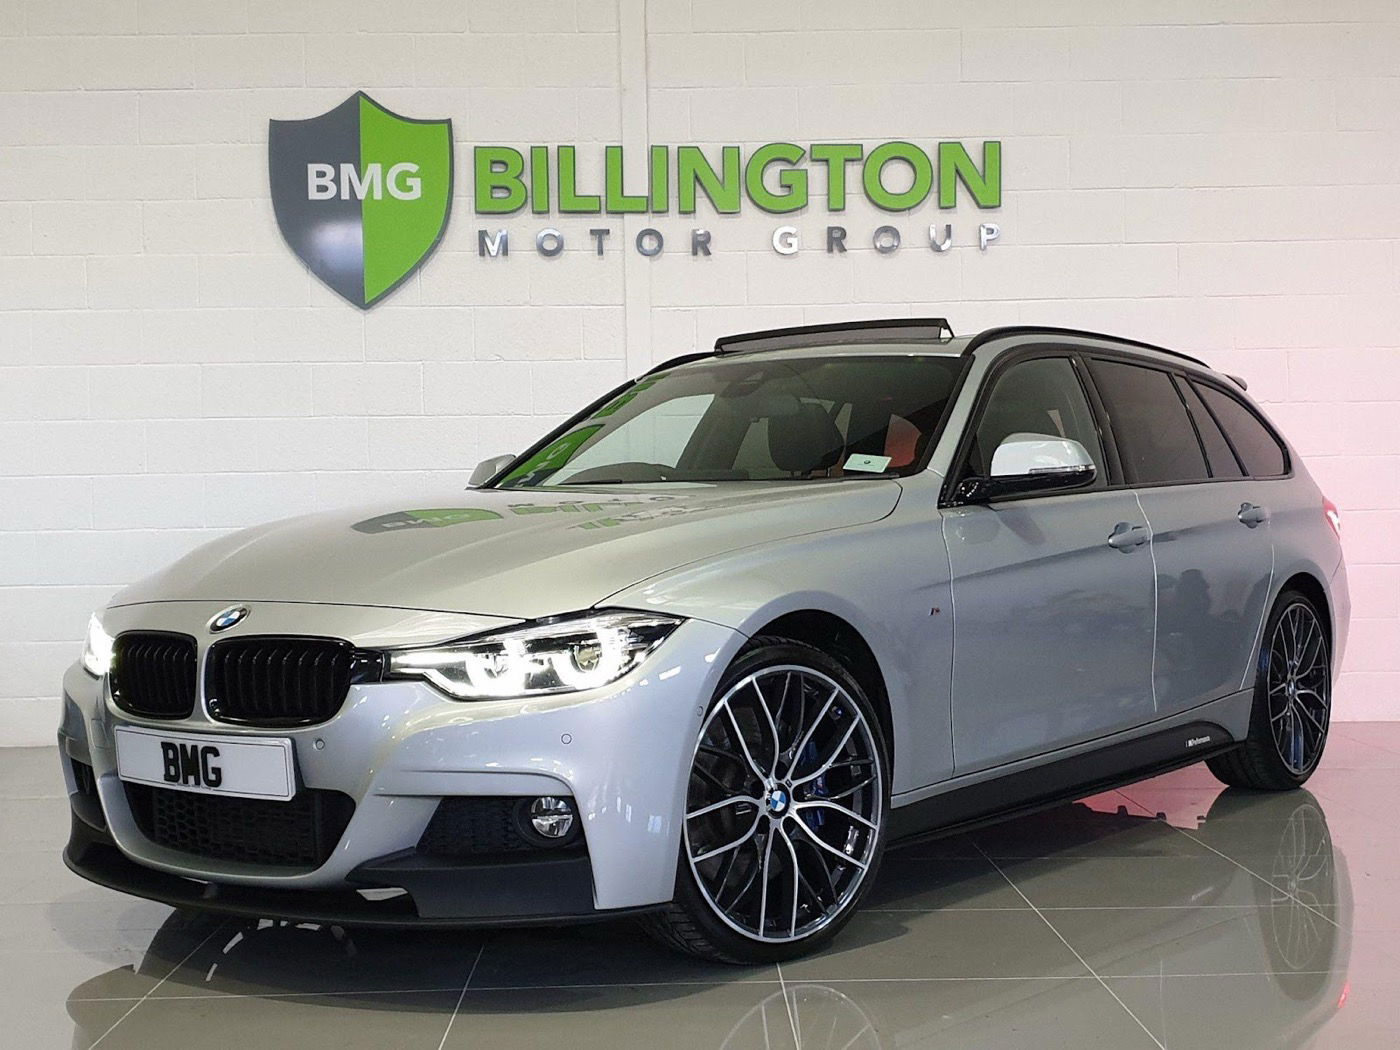
Photo credit - Billington Motor Company
Your background should be simple and neutral. Backgrounds such as a plain concrete wall, a clean garage door, or your dealership's signage work very well. Quiet, open spaces like a calm area of your dealer yard or an empty driveway also work well. Tree-lined streets, fields, or suburban settings can be effective too, as long as the scene remains uncluttered and doesn't distract from the vehicle.
Try to avoid including other cars in the frame (unless blurred deep in the background), busy streets, traffic, bins, and people.
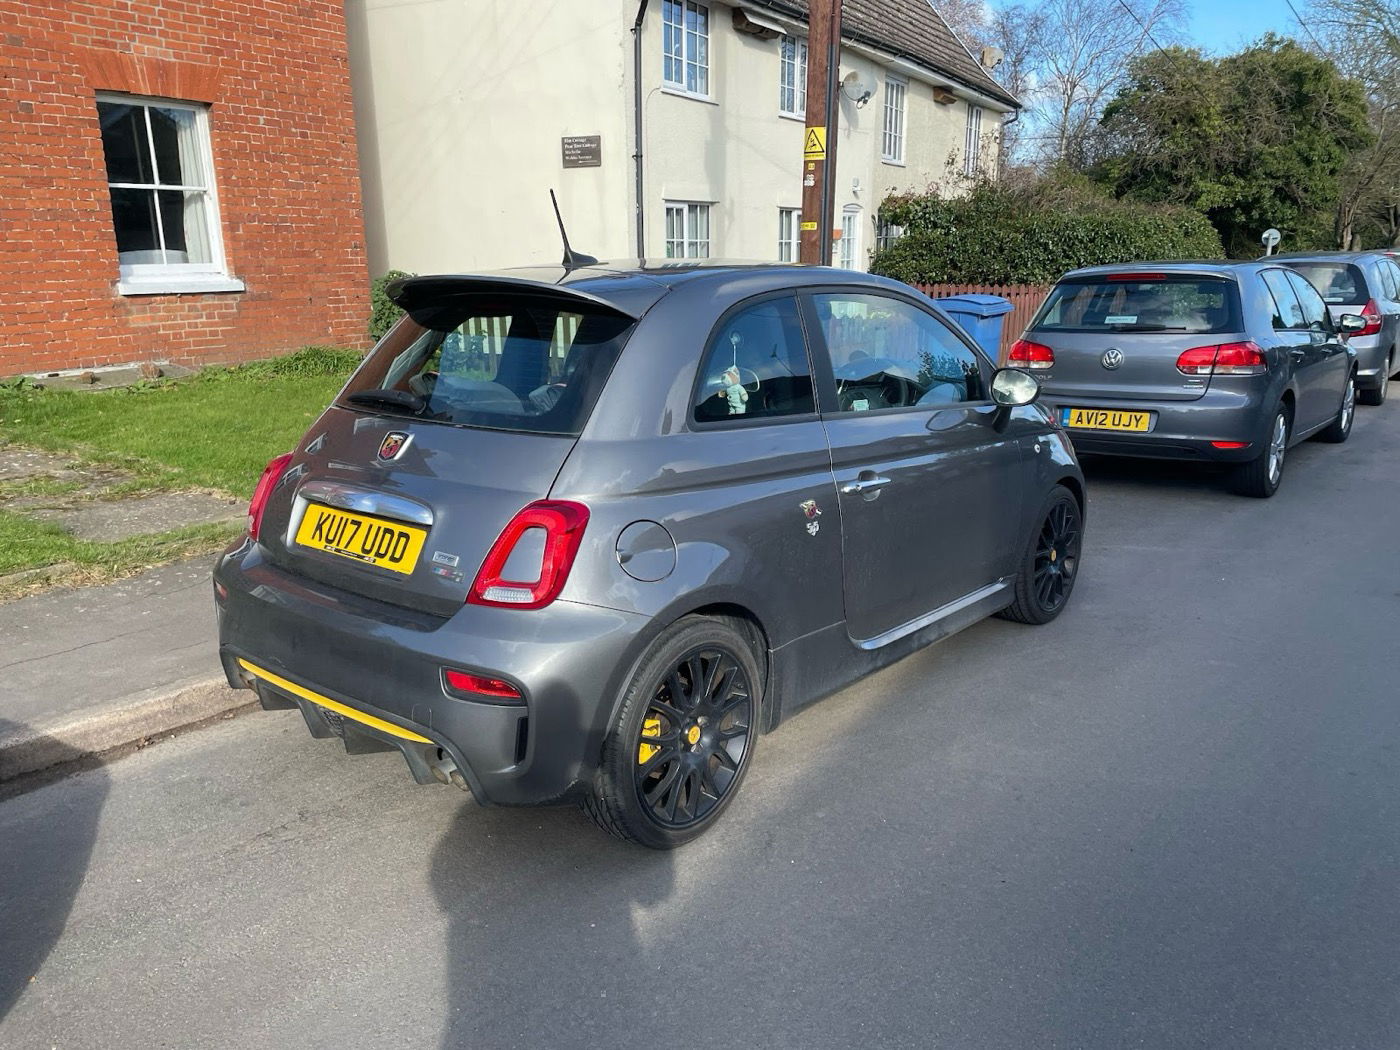
The background alone makes this seem highly unprofessional (not to mention the photographer's shadow).
The car is the star of the photo so it's advisable also to leave a good distance between the car and the background elements to ensure it's more in focus than the background itself - this also helps soften any distracting elements that may be in the background.
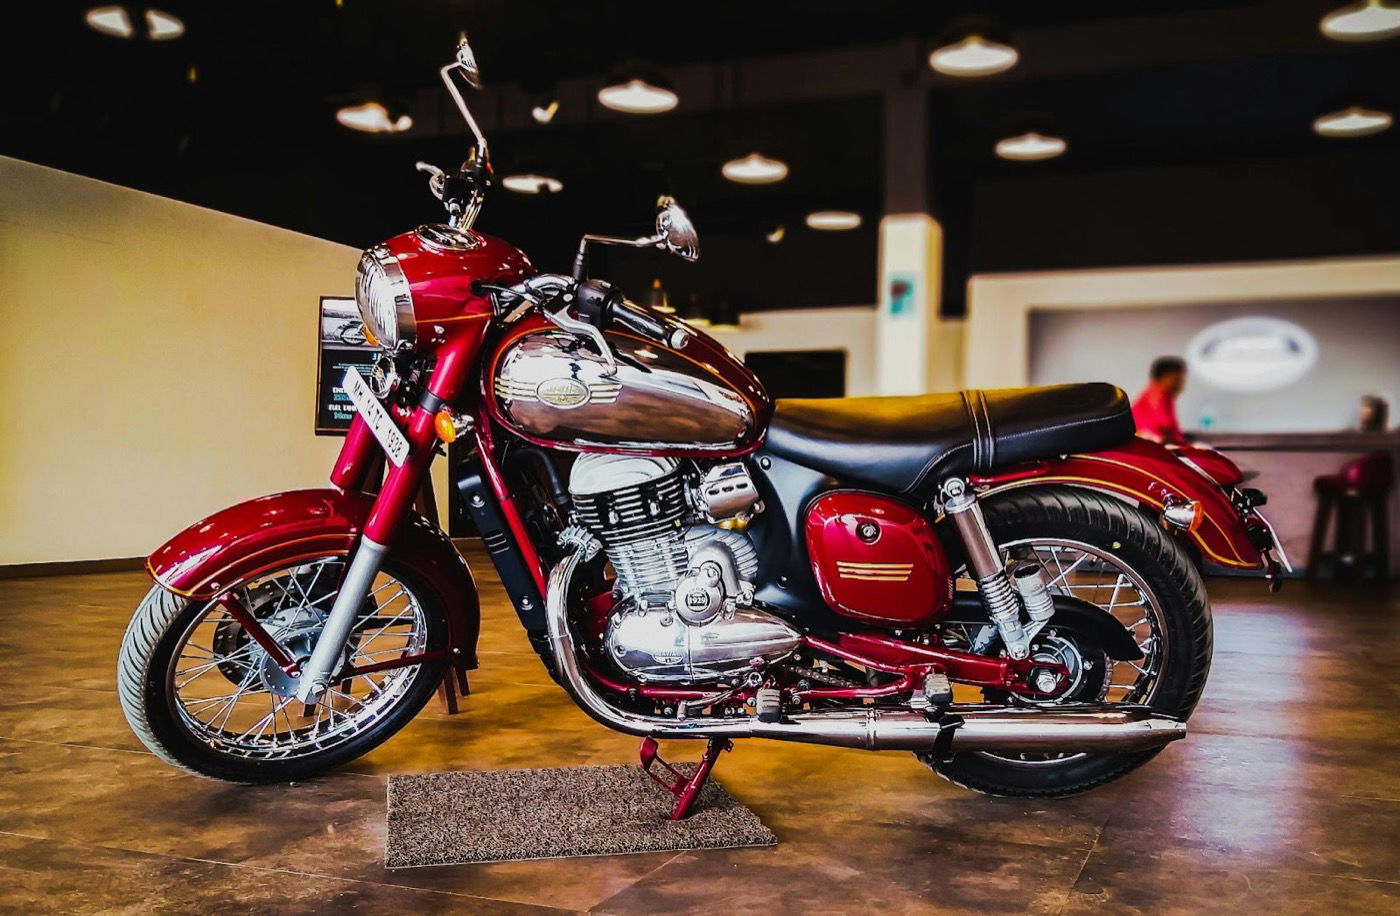
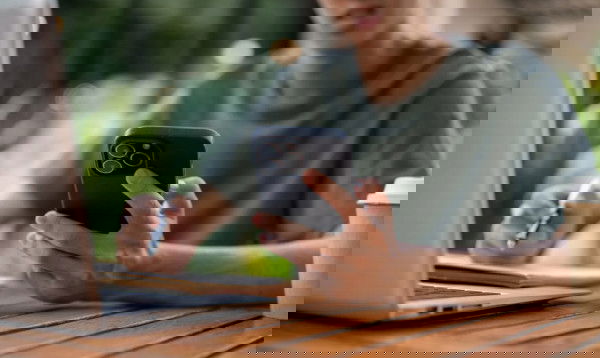
Good use of natural background blur that occurs when the subject is far away from the background, other factors include focal length of the lens and the camera aperture setting.
Angles
You want your customer to feel like they are able to 'walk around' the vehicle. Give them enough of the vehicle's exterior and interior and they will better trust that they've had a good look. AutoTrader recommends uploading at least 20 photos of your vehicle but you can include up to 100 images.
Take your photos in a landscape format for the web. Vertical photos look cramped unless you're doing social posts. We recommend 4:3 as AutoTrader enforce the 4:3 aspect ratio for all vehicle photos, and will add a grey background to images which don't fit this size.
Consider what your ideal customer is looking for - if they're buying a large truck for outdoor adventures, highlight the spaciousness and practicality in your photos. If they are looking for a flashy sports car, focus on capturing sleek exterior angles that emphasise its style and sophistication.
Tailor your shots to showcase what matters most to your target buyer.
Exterior
-
Front ¾ angle
-
Rear ¾ angle
-
Direct front view
-
Direct rear view
-
Side profiles
-
Close-ups of wheels, badges, headlamps, grille
These should be consistent across every vehicle you take photos of.
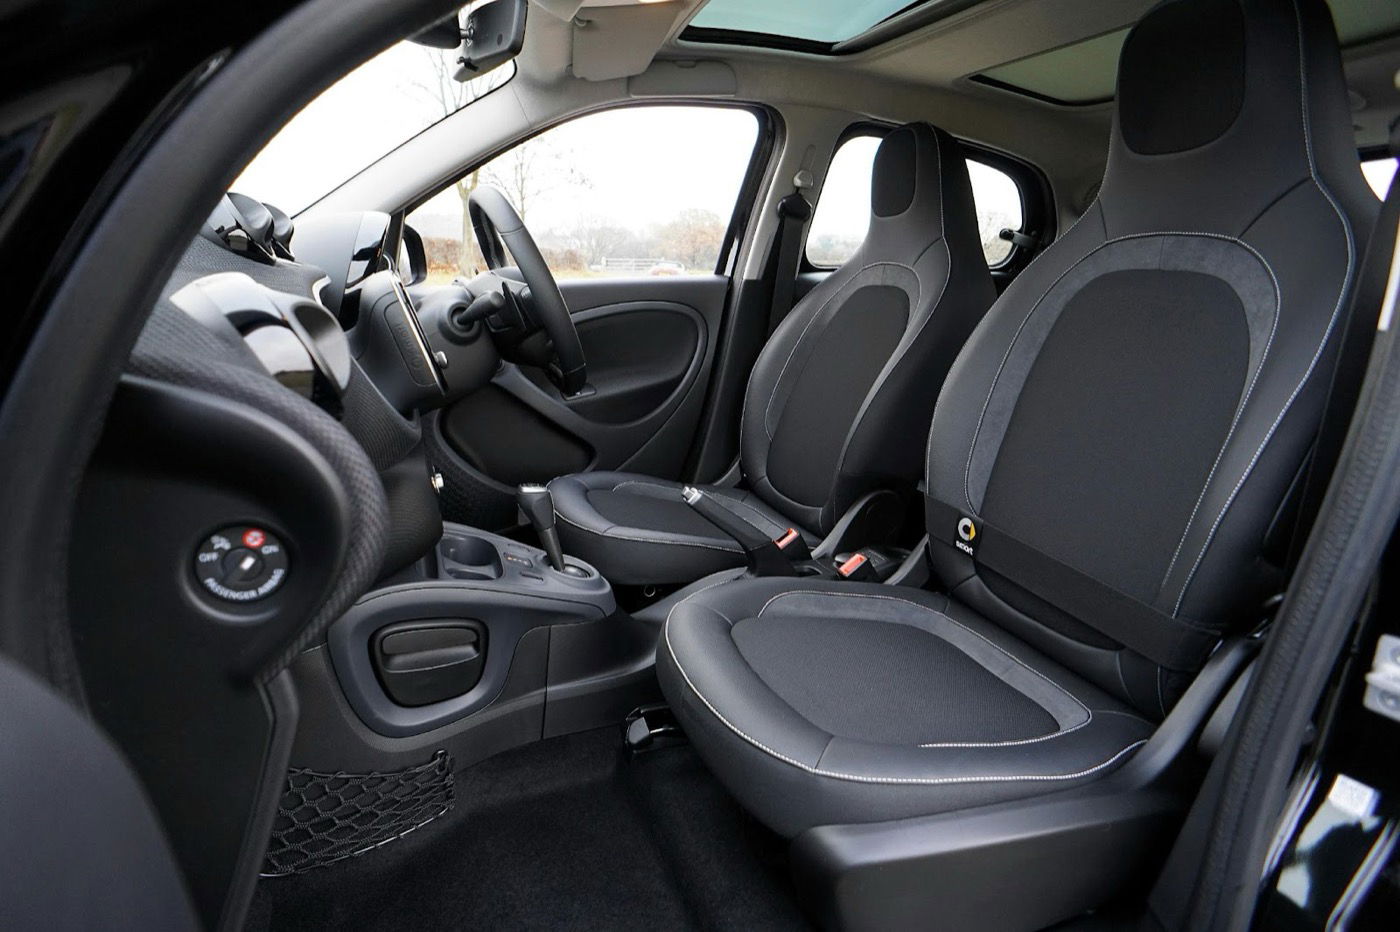
Interior
-
Wide dashboard view from the back seat
-
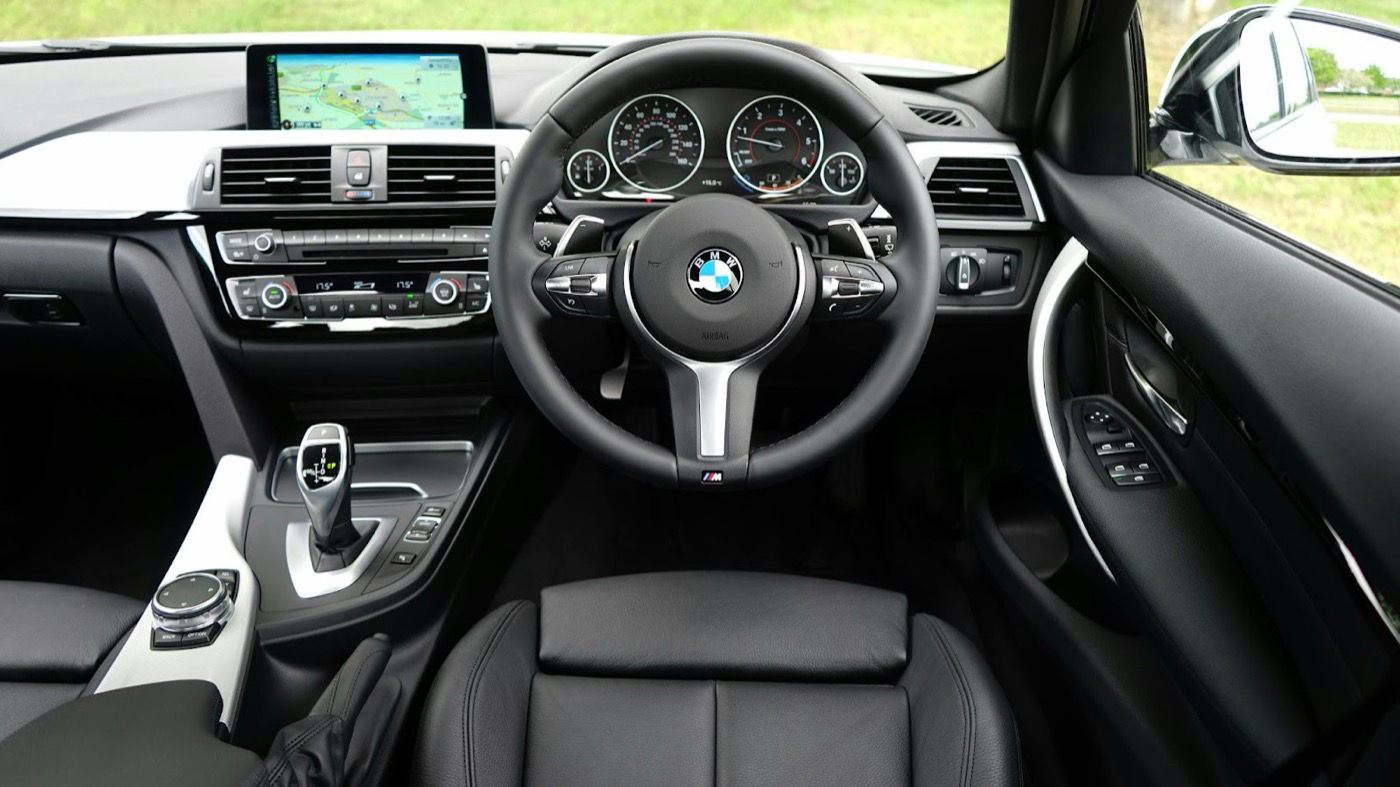
Driver's seat view, including the steering wheel and instruments.
-
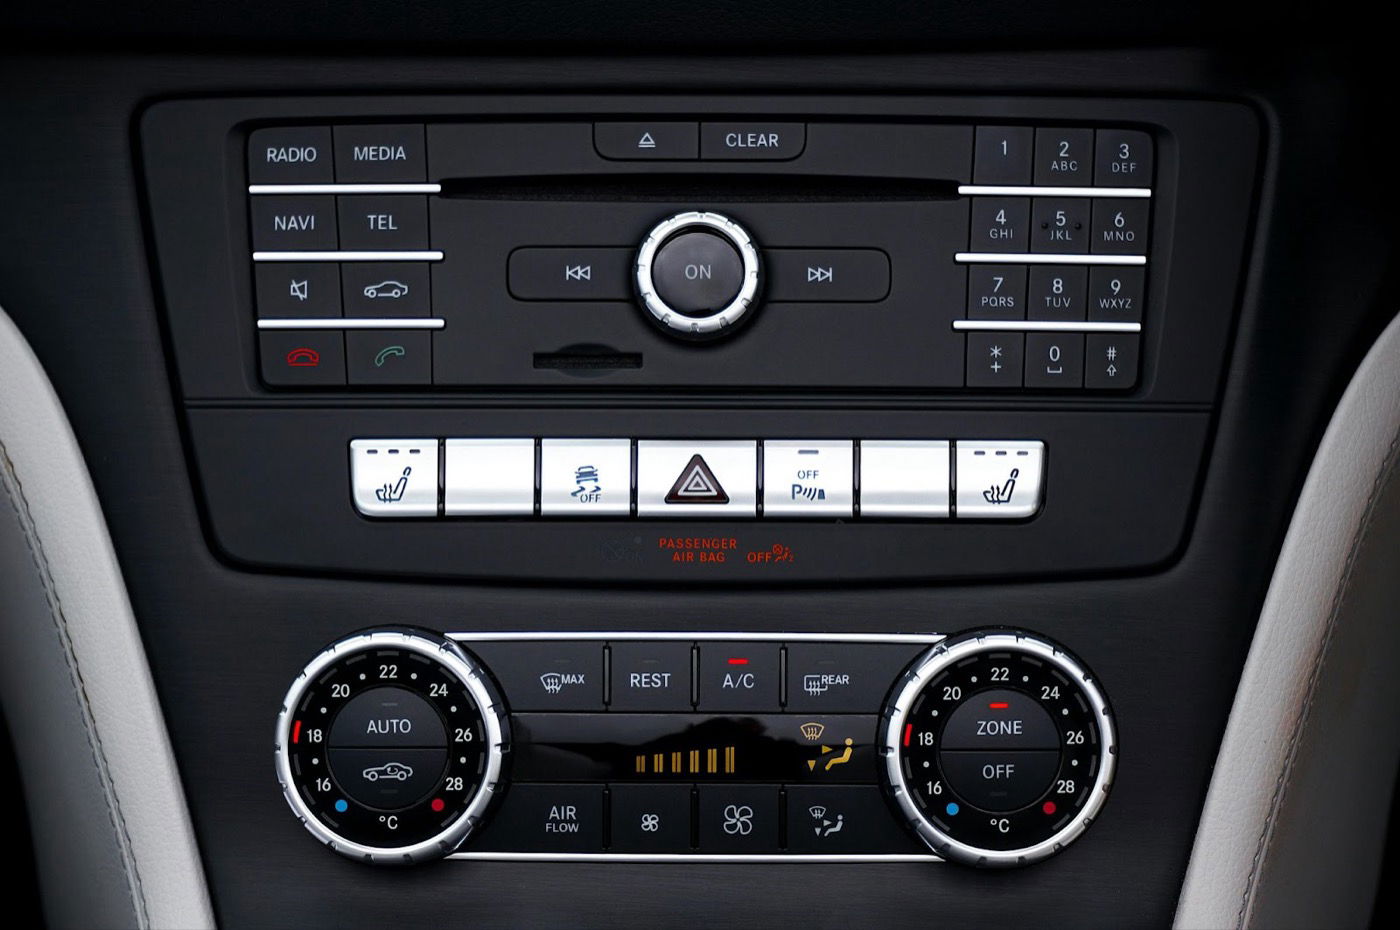
Gearstick, infotainment system, controls, etc
-
Back seats
-
Boot space (open and closed)
Extras and Honesty Shots
-
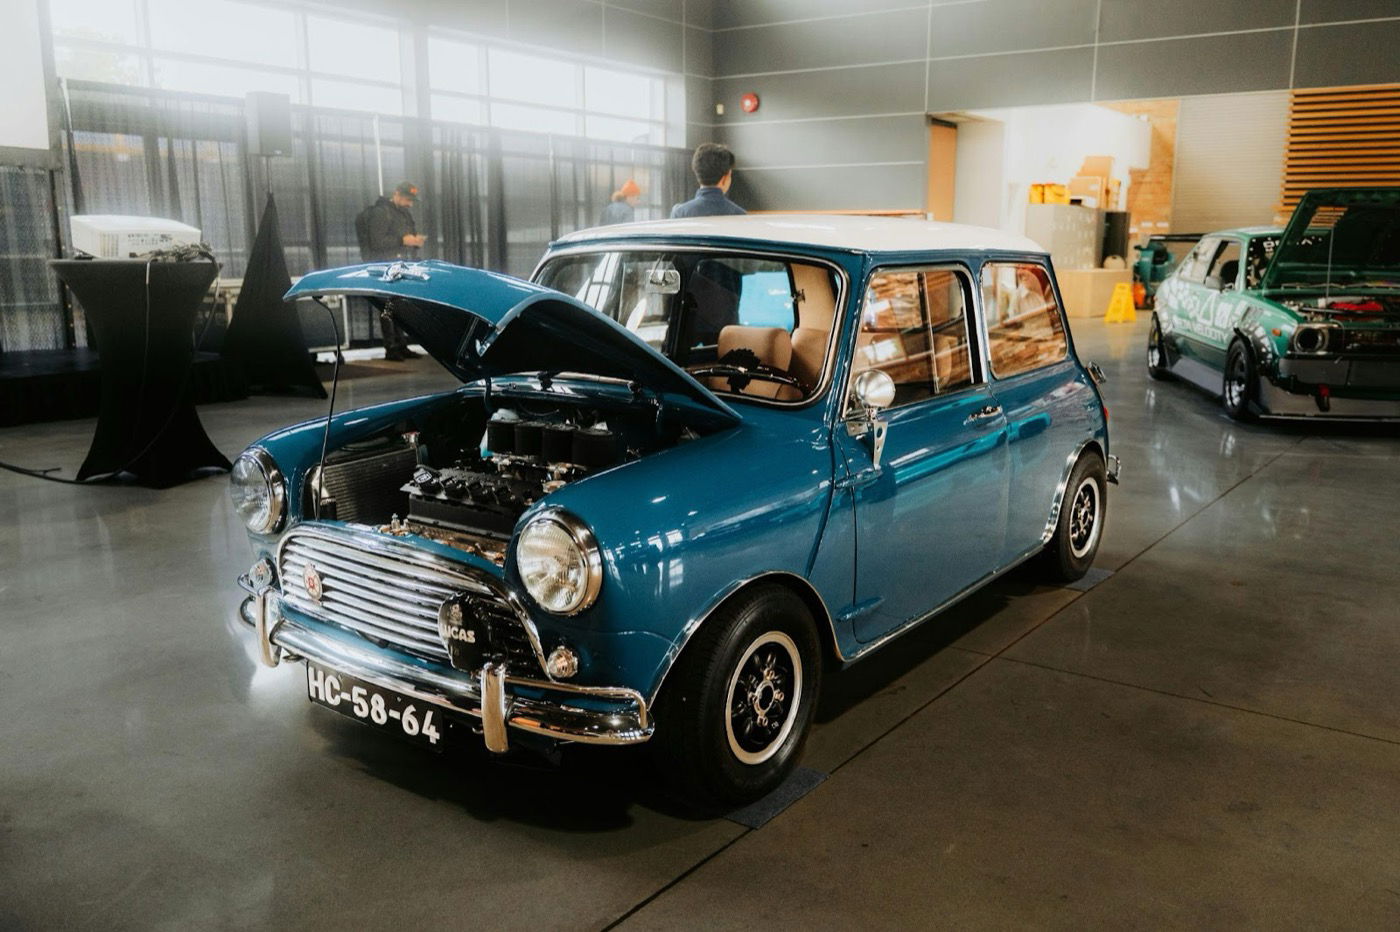
Optional extras: If the vehicle has extras like a panoramic roof, sat nav, or ambient lighting, show them off.
-
Documentation: Show service books, spare keys, or any included accessories.
-
Photograph all damage. Scratches, dents, worn upholstery, or curbed alloys. Buyers appreciate honesty, and this builds trust. If there is a scratch they will eventually see it, it's best to be open from the start, especially given the bias of consumer rights.
Make sure to categorise your interior and exterior photos as AutoTrader now puts them in separate tabs.
Camera Position
When setting up the camera to capture all the angles mentioned above, consider the height from which you do so. The height from which a car is photographed significantly affects how buyers perceive it.
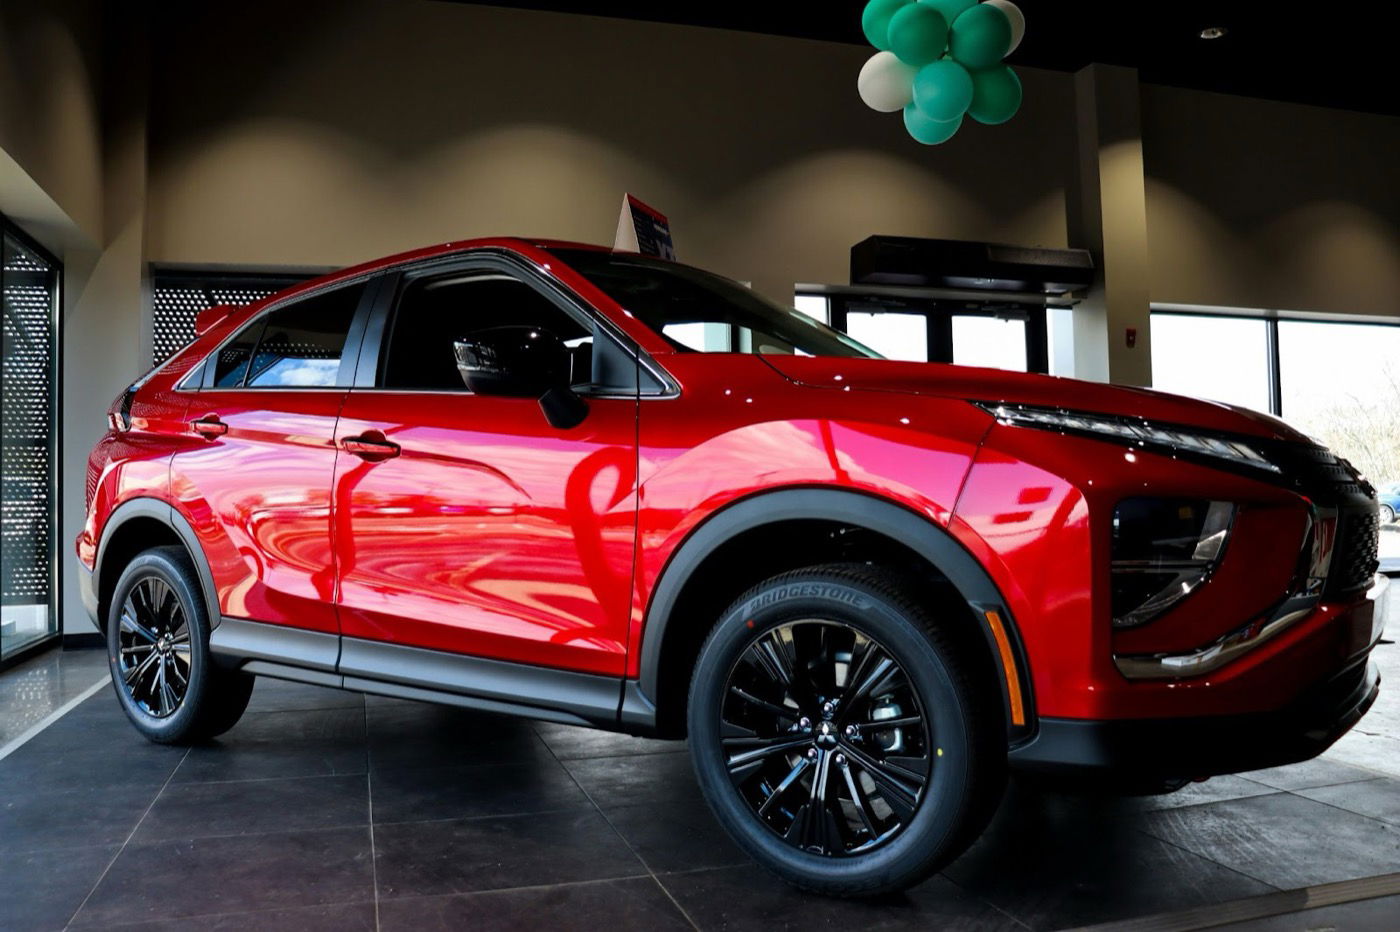
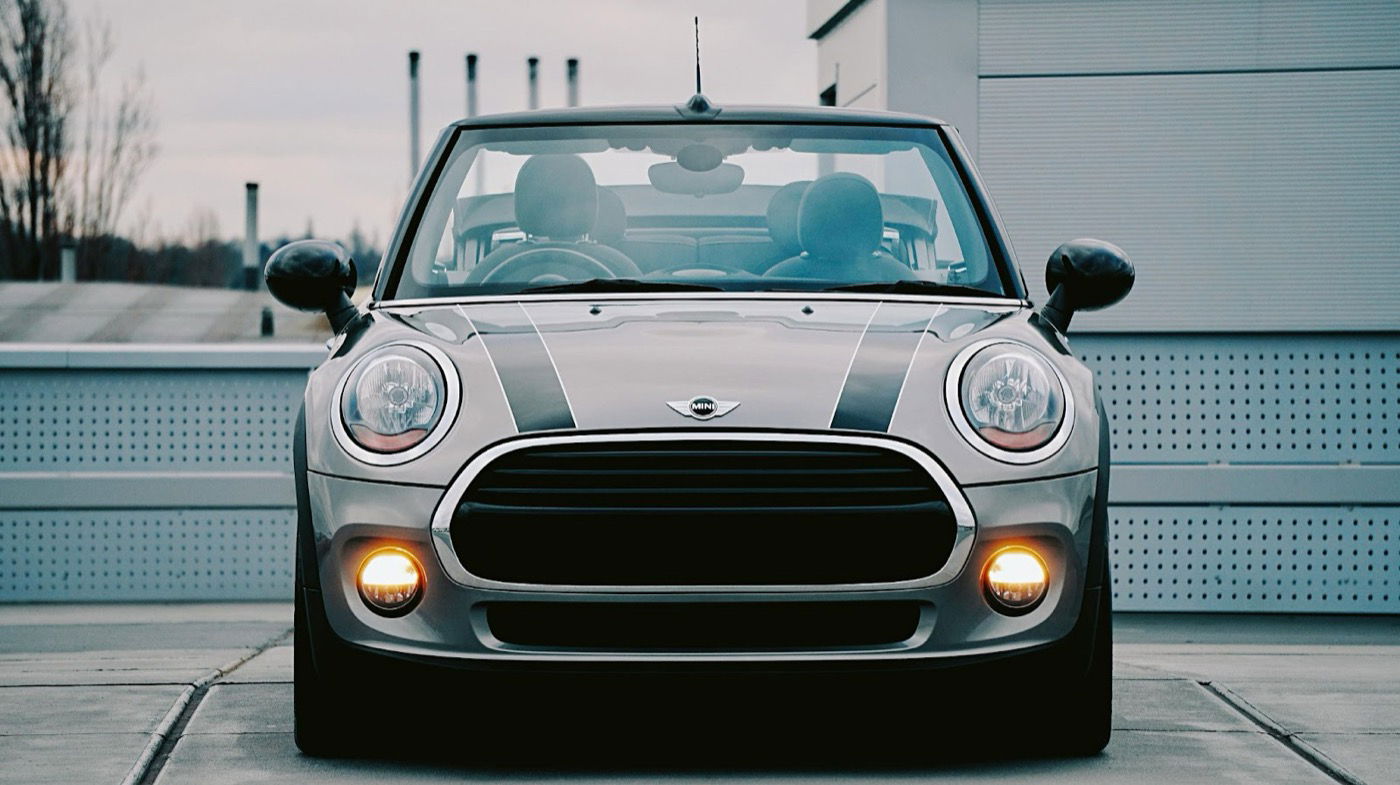
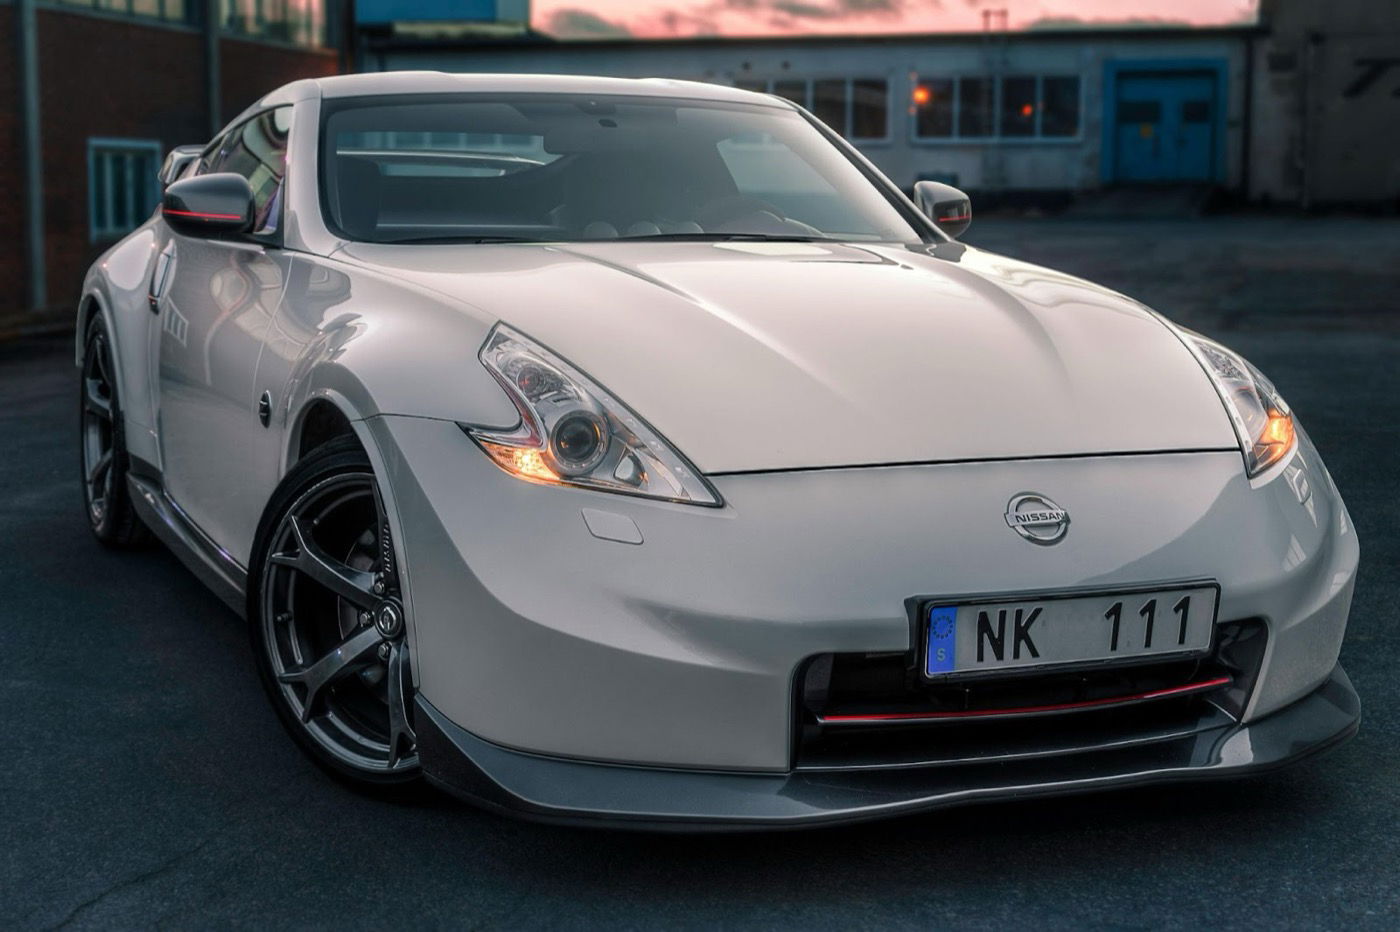
Eye-level shots are the most natural and trustworthy, giving buyers a realistic sense of the vehicle. Low-angle shots make the car look more powerful, sporty, and dramatic. This is ideal for sports cars or SUVs. High-angle shots can make a vehicle appear smaller, more compact, or approachable, which suits city cars or hatchbacks. Overhead or tilted shots should be avoided as they can distort proportions or appear unprofessional. For the best results, use mostly eye-level shots with a few low-angle images to add visual interest.
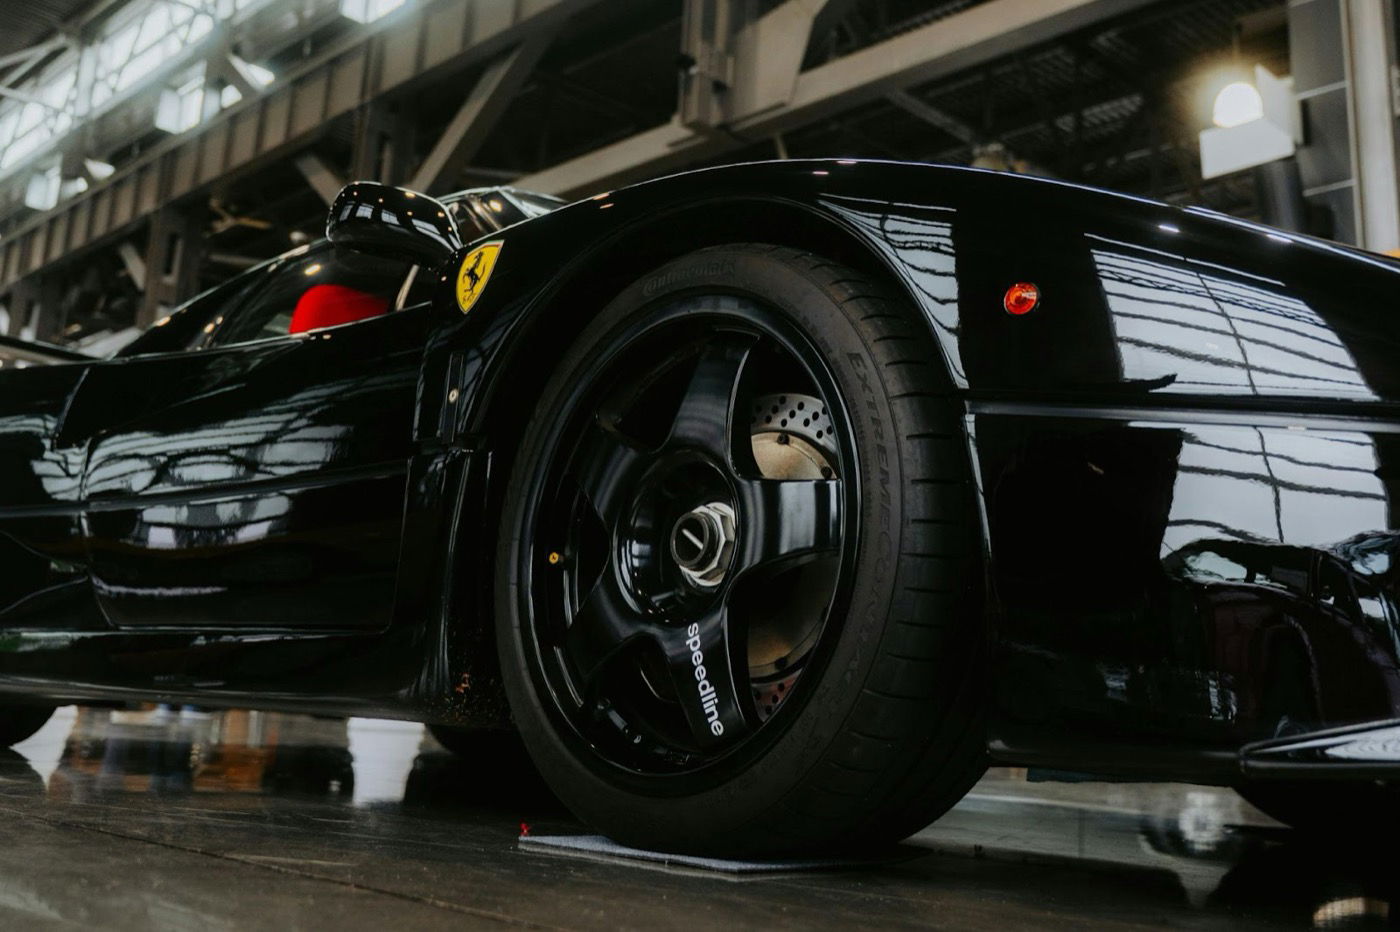
This low-down angle makes the car look powerful.
This higher angle makes the car look adorable.
Image Order
When presenting vehicle photos for a listing, it's important to clearly categorise them as interior or exterior and arrange them in an order that both attracts buyers and provides all necessary information for an informed decision. A recommended sequence begins with a compelling Hero Shot, followed by Exterior Shots, then moves inside with an Interior Overview and Interior Details. Next, include the Odometer Reading, Engine Bay, Boot/Trunk Space, Tyres and Wheels, highlight any Additional Features, and finally any visible Damage or Wear Areas. This structured approach helps create a professional and informative listing.
Weather & Lighting
Natural light is your best friend. Good lighting can enhance the appearance of even a budget vehicle. Aim for soft shadows, even illumination, and minimal glare or distracting reflections to present the car clearly and professionally. While dramatic lighting and bold reflections can work well for hero shots or promotional images to create a more dynamic feel, when your goal is to show the car accurately to a potential buyer, it's best to keep the lighting clean, neutral, and consistent.
Shoot on an overcast day, as long as it's not too dark or gloomy. Soft cloud cover diffuses sunlight naturally, giving you even lighting without harsh shadows or glare. Fortunately, in the UK, these kinds of days aren't hard to come by.
Shoot during 'golden hour', the period shortly after sunrise or just before sunset, when the sun sits low in the sky and casts a warm, flattering glow. Not only does this meet the lighting criteria, but it also gives your photos a professional, cinematic quality. It's the same kind of lighting often used in films and music videos to create a magical atmosphere.
Shooting in the shaded areas if it's a bright, sunny day, parking the car in open shade (like under a tree or beside a building) can help prevent harsh reflections and unwanted lens flare while still maintaining balanced exposure.
Avoid
-
Direct midday sun creates harsh glare and deep, unflattering shadows.
-
Rainy or dark, overcast days, unless you're going for something overly dramatic and moody.
-
Using a camera flash, as it rarely produces good results unless you're working with high-end photography gear and proper lighting setups.
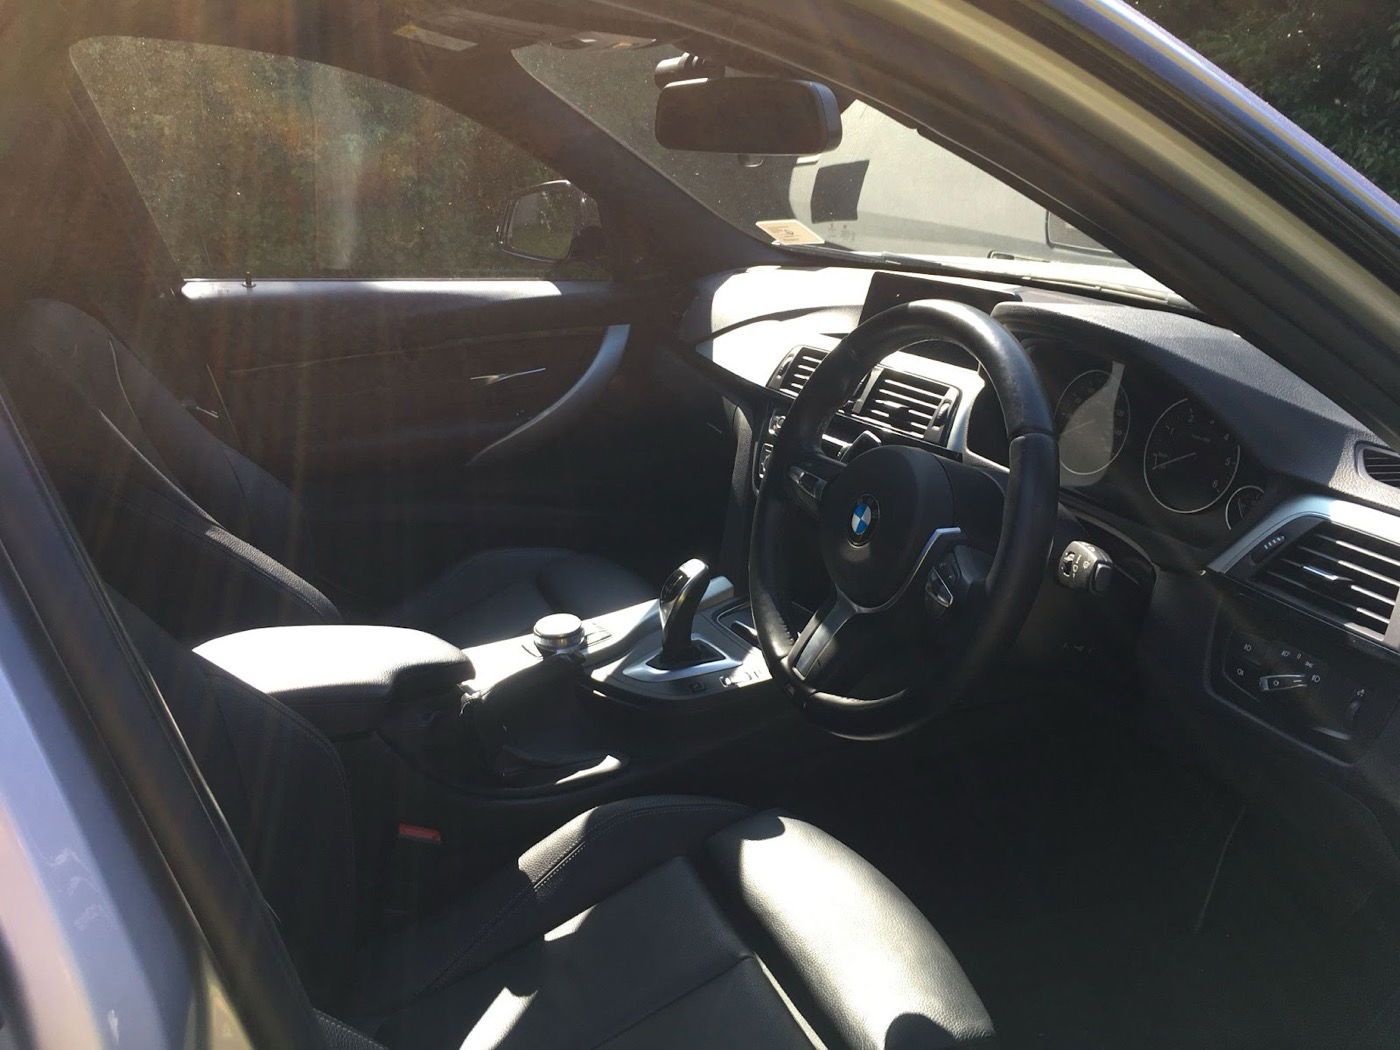
The light here is too distracting and creates a hazy, unprofessional look.
Consistency
We mentioned this earlier in regards to your background and photography angles, but you should of course keep your photos the same size too. Ultimately the goal is to create a clean, professional portfolio that enhances your brand and shows that you are organised and reliable. These little touches go a long way in making you stand out above the competition.
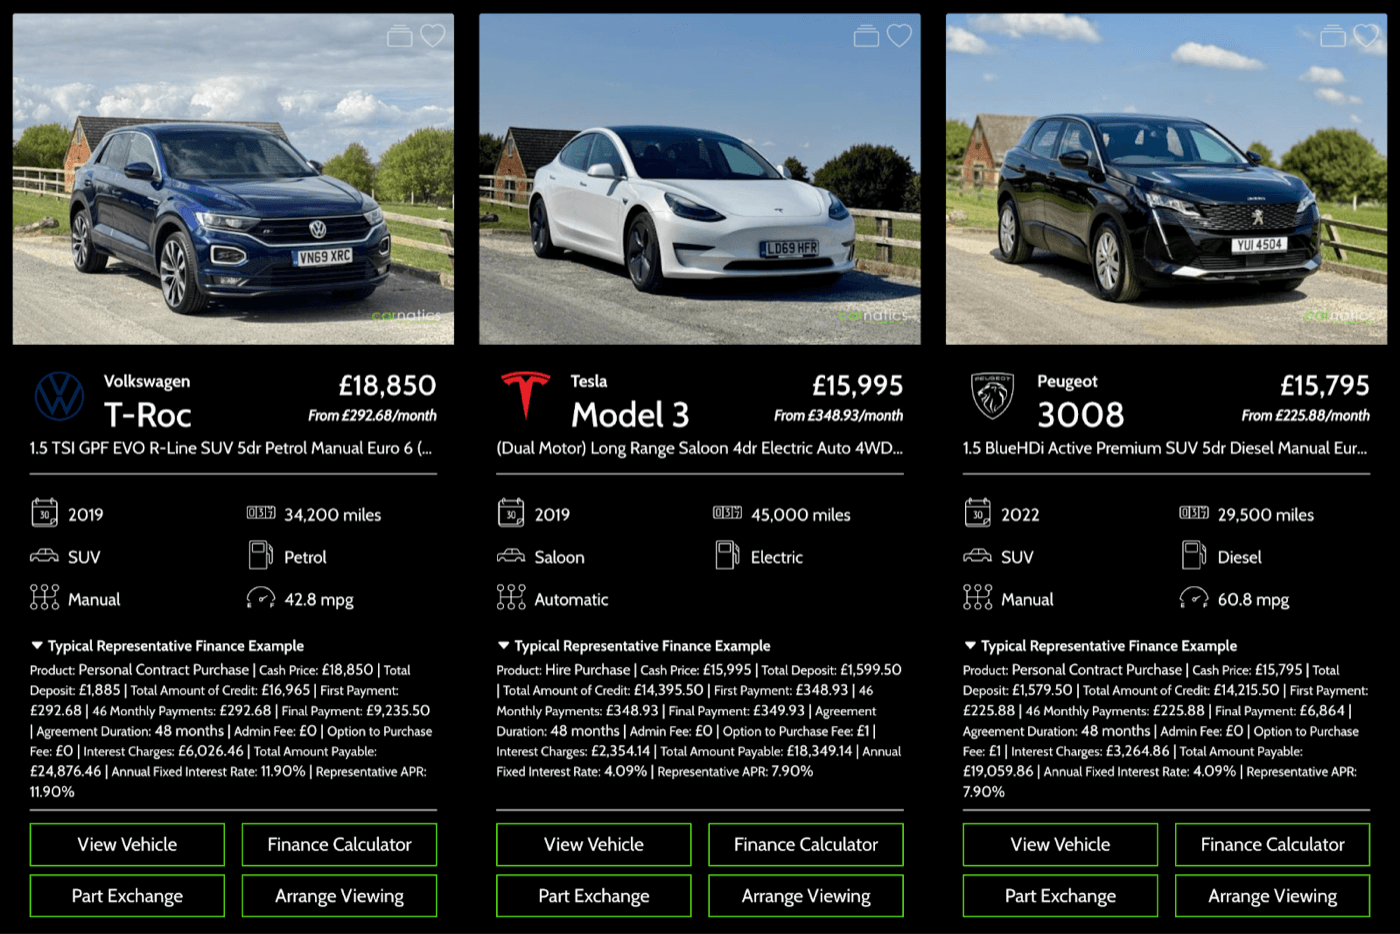
Photo credit - Carnatics Motor Company Limited
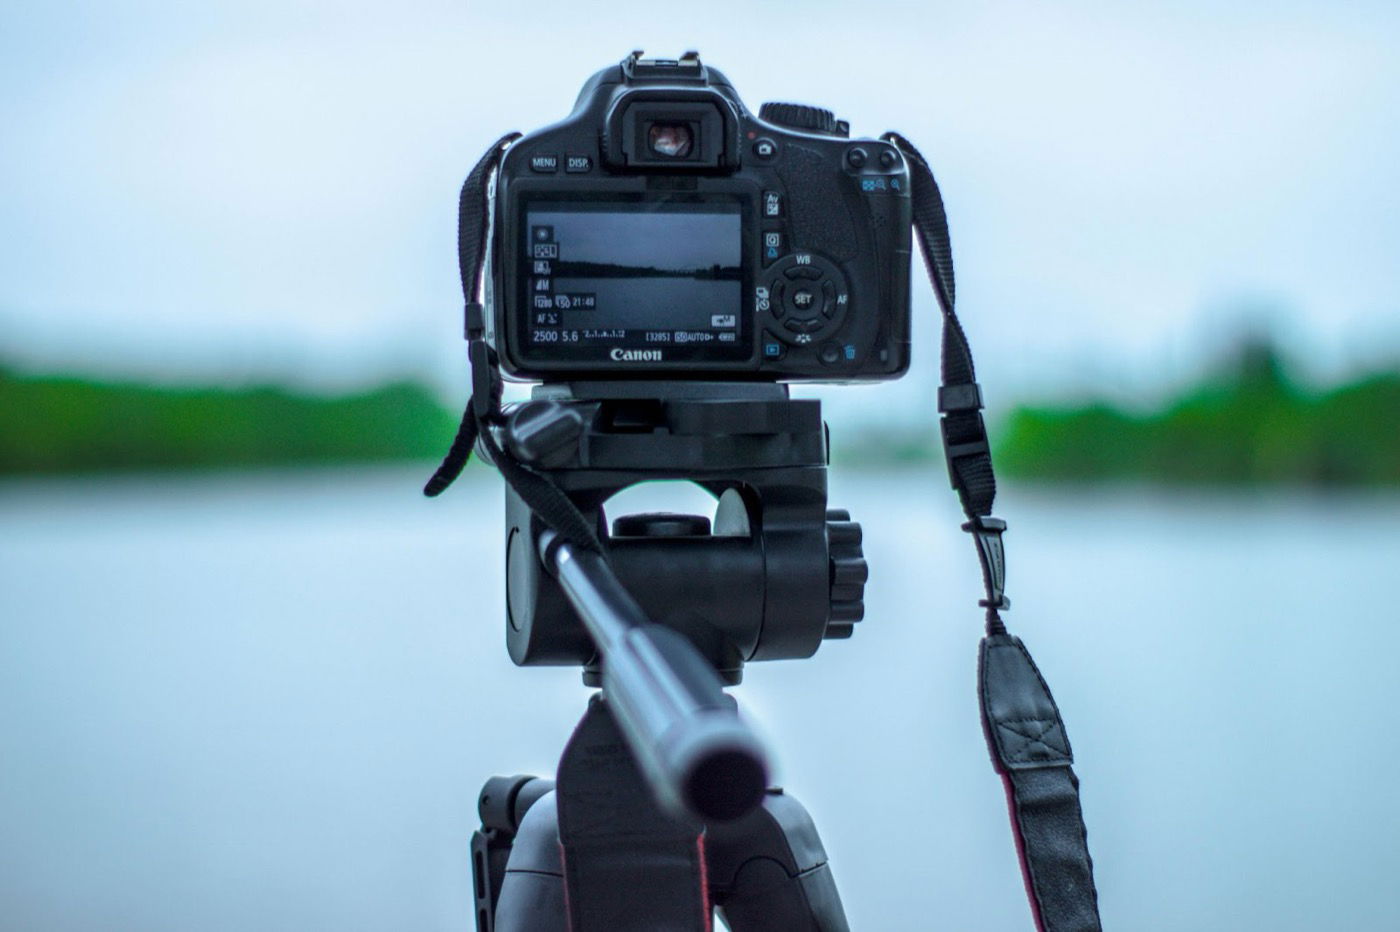
Equipment
You don't need a DSLR or Mirrorless Camera packed with megapixels to create a perfect image. A full-screen 4k image only requires 8.3 megapixels, which can be handled by most cameras since 2004. In short, your smartphone is likely more than capable and how you implement the points above will be the dominant factor in how your photos look.
Helpful Tools
-
A tripod or phone mount
-
Grid lines on your camera or phone (or photo guides in the MotorDesk app) to help with consistency.
-
A microfibre cloth to ensure your lens is clean.
Photo Editing
A small contrast, saturation or brightness boost is fine but don't apply filters that distort colours or misrepresent the vehicle. Avoid over editing, tempting though it may be.
Phones are able to run powerful photo-editing software so you should be able to make whichever tweaks you feel the photos need even if all you have is your mobile.
Cropping the photo can be useful to fix any framing issues and ensure consistency with your other images on the website. However ideally you should get it correct in camera.
Photo Branding
There are branding elements that can be done after you've taken your photographs, all of which will help you to solidify your brand image.
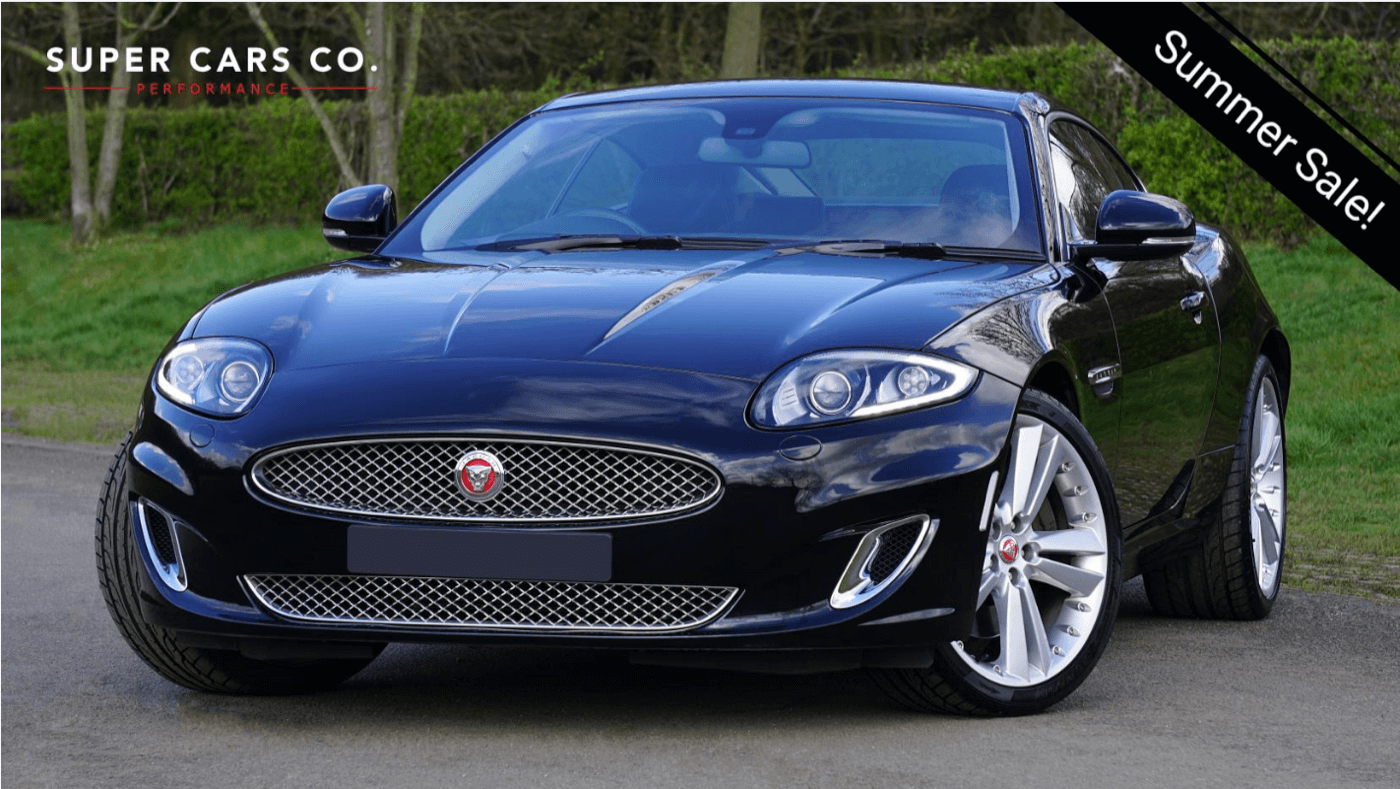
You can add your business logo to an image, for example subtly in the top left of the image. You can add ribbons or banners onto the image, whether for branding purposes or for indicating a sale or special offer.
Whatever the purpose of the graphics you add to your images, it's best to keep them sensible and tasteful.
MotorDesk's Used Car Dealership Inventory & Stock Management Software provides a vast array of tools to help automate, process and improve your vehicle photos, including an in-built photo editor, automated branding tools, and even background removal features.